by - Lisa Rye
5. Effects
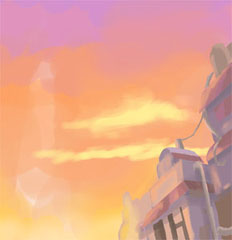
Just a few more odds and ends. I usually leave clouds until this stage; just a preference really. Clouds are pretty easy once you get the hang of them, but there's a lot more to them than blobby airbrushing...
 The pole in the middle and the lineart get in the way a bit, so I turned off the layers they were on. (The white area is usually covered by the pole) |
 Just added some light yellow scribbles with a soft brush. |
 I attacked the scribbles with the eraser to give them ragged edges and a more cloud-like shape. |
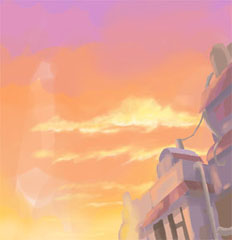
 More brushwork, this time I used a smaller brush to add some lighter highlights. |
 |
|
| More highlights and some cleaning up. |
| ...and here we have it with all the clouds done. |
As for effects, I added light rays from the street light and some slight glows to some of the windows. I also adjusted the saturation a little as I wanted the sky a little brighter. Generally it's a good idea to have a play around with adjustments such as contrast/brightness and hue/saturation/lightness, but don't overdo them too much.
Resize and save your work and...

