
by - Jennifer D.
1.) The sketch
First, you need to start off with a sketch~! But if you already have a scanned in lineart, ignore this and skip to step 3.
Here's my sketch, ignore the ugly monchhichi looking thing.. well at least I TRIED to draw monchhichi, blah~

2.) Lineart
Now here, I just inked over my sketch on a new layer~ I did the glasses in a different layer using a different color. o.O A lot of the time, I do this for everything, skin, hair, clothing etc. I do that to give the image more volume as thick dark lines flatten an image. Yes, I learned that in my illustration class. X3 But for this, I'm going a different route.
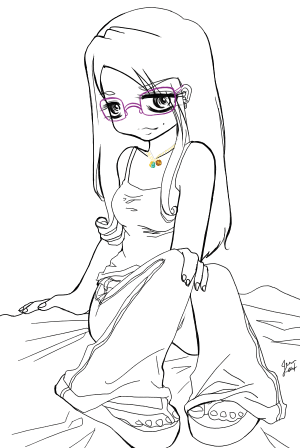
3.) Polished Lineart
Ok, I flattened my lineart, (Layer>>flatten image.) excluding the layer with the glasses. I colored my lineart by going to Image>>Adjust>> Hue/Saturation.
When the popup shows up, check off colorize square. Then just adjust the hue to whatever color you want your lineart to be. Also adjust the lightness. Make it light enough so that it's still dark, but you can see some color.
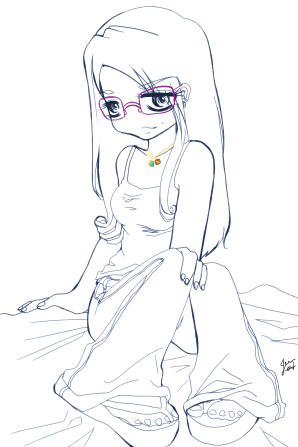
Now duplicate the lineart, and change the duplicate layer to "Screen". Just drag lineart to this iconin the layer window to duplicate layer. Change the opacity of the duplicate lineart to about %35-%50 or whatever looks to your eye. Then flatten layer.
*note, you can always polish lineart however you want. Some people just want to leave it as it is, and just adjust brightness and contrast and some people blur their duplicate lineart first, then change it to a different layer mode (overlay, screen, soft light, etc). So feel free to experiment.
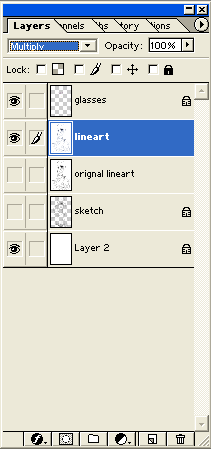
Now make your lineart a "Muliple" layer. So that the white area will transparent and you can color under the lineart. See Image Below
4.) Base Color
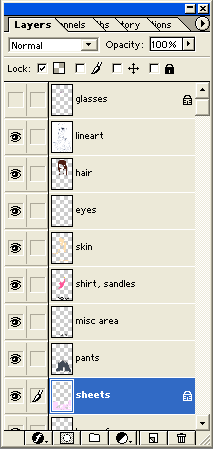
Now were coloring! It's easier to color everything when you fill the areas in with a base color first. So start filling in a base color for everything, like what you see in my example. Preferably you should make a layer for each area. See my layers window. This makes coloring easier and it's more organized.

5.) Shading
For each layer, make sure to check off "lock". This lets you color inside a colored area and only the colored area.
For tablet users, grab the free form pen tool.

For mouse users, you can either use the regular pentool if you know how to use it, or use the polygon lasso tool.
For Mouse users, it's just simply click and drag. Then close path when you've reached the starting point (you'll see a small circle. This indicates the path will close). Then fill the area with a darker shade of the color of your area.
Pen users.
When selecting an area to shade, you need to draw your path first. So draw your path. See images below to see how a path should look and how to turn it into a selection.

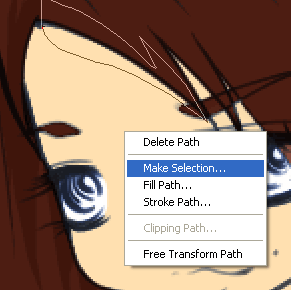
After you've drawn your path, right click and click make selection >> ok
A great thing about the pentool method is that you can make more than one path and turn it into a selection. But in order to turn all the paths into selection areas, you HAVE to close all the paths. Which is basically the same with a lasso. You will see a small circle, which indicates it will close the path. See the two figures below.
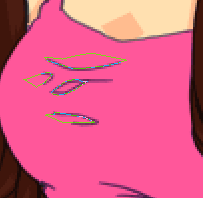
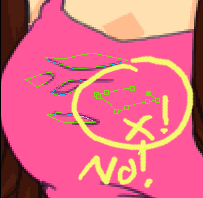
Once you have the paths all closed, right click and make path into a selection. Then fill the area with color.
So this is where you should be at now. Your image should have some shading~! =D
