by - Samantha
| Upon messing around in Photoshop. I've stumbled upon little things that make life better. I thought that there should be a tutorial on those little things. |
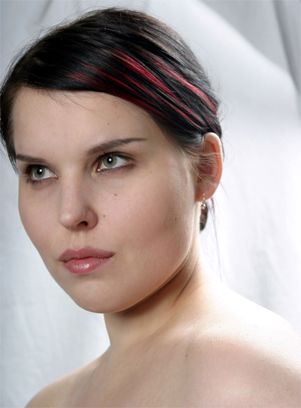
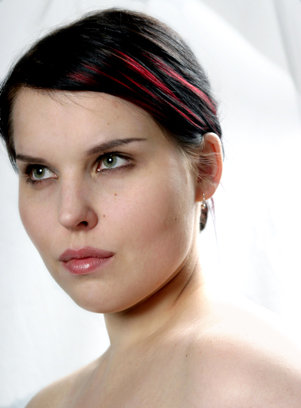
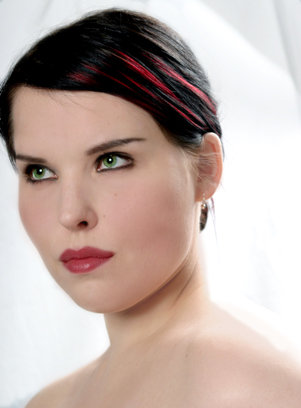
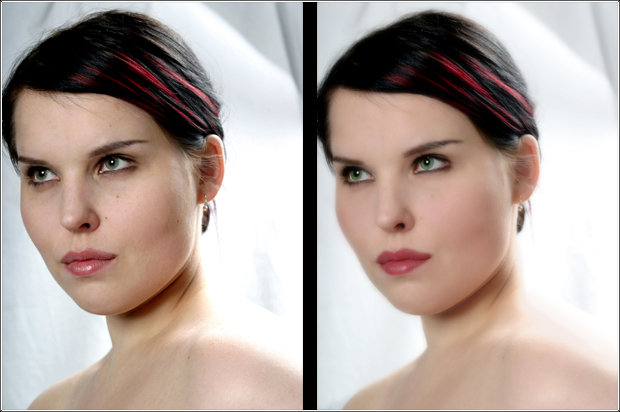
Okay, I thought I should make a tutorial for you people since you like my work so much. This tutorial was made using Photoshop 7--I'm not sure if it works for other versions, but you guys are smart, you can figure it out. ;) It also requires basic Photoshop skills. Enough said--let's get to the tutorial. :) We're going to start out with a basic stock photo, unedited.
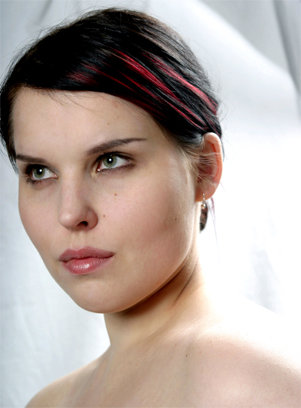
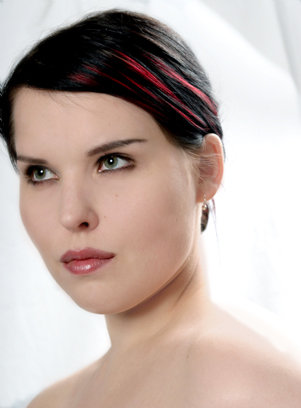
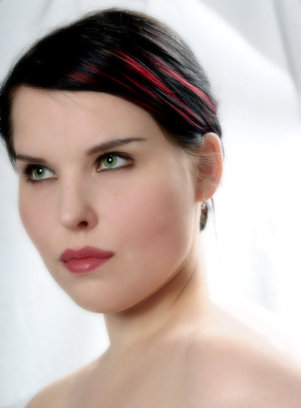
The first thing I do with all of my stock photos is change the colors. Play around with the Brightness/Contrast, Levels, and Color Balance at least--if you're more experienced at this, mess around with whatever you'd like to on the Image > Adjustments menu. :) Next, I usually change the background--on this one, I would just make it lighter, and define the edge of her shoulder more. I do that by making a new layer, setting my foreground to white, and going over the background with the brush tool. I mess around with the opacity of the layer after that. To define the edge of her shoulder, I use the same technique, except this time my foreground is set on a color near where the edge of her shoulder is. I chose #F6E1D2 as my foreground. Then just make another new layer under the white background one and define the edge. The next thing I would do on this is to bring out the red streaks in her hair--they're not visible enough for me. I do this by selecting the original stock layer and use the Sponge tool set on "Saturate" with a flow of 22% or so over the red areas. Sometimes I fade it using the Edit > Fade Sponge Tool thingy. Lots of people wouldn't be able to tell the difference between the last two. I find that
little details like that in an image make all the difference in the world. Now. It's time
for the airbrushing. Your foreground should still be set to the skin color that you used
on the shoulder. Make a new layer, and airbrush with the brush tool over the skin.
Afterwards, mess with the opacity. You can make a new layer and do it again if you
find specific flaws you want covered up such as freckles, birthmarks, etc. Be sure to
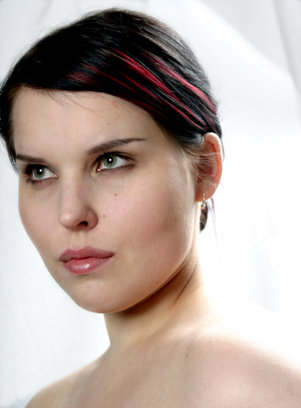
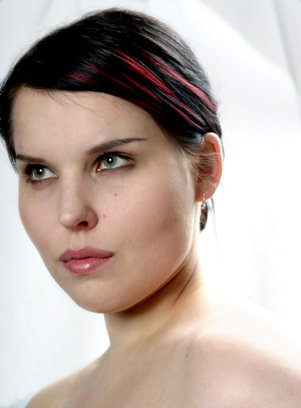
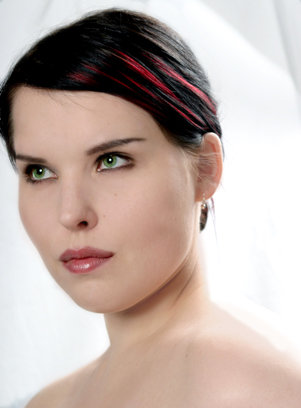
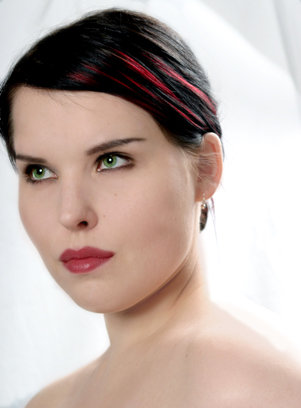
erase your airbrushing over the eyes, eyebrows, stray hairs, and nostrils though, or Now I like to bring out the eye color. Using the Eyedropper tool, I pick a color that's already in the eyes--such as in this picture, #4B5241. Make a new layer right above the original stock photo layer, and put one little dot about the size of the iris and pupil for both eyes. Change the Blending Mode to Color Dodge. From there, if mess around with the color using Hue/Saturation to get just the color you want for the eyes, and if you made the dots too big, just use the Eraser tool to get them smaller and to the right size. :) I find doing this instantly makes the picture so much more lively. Aha! See? Better already. :P I do lip color next usually. Yet another new layer to make. Once again use the Eyedropper tool to pick a color that's already in the lips. I chose #AC5258 as my color. Using the brush tool, go over the lips--then change the opacity of it. After that, there is always extra stray stupid lip color pixels floating about outside the lips-- erase those stupid buggers. Using Hue/Saturation, change the color of the lip overlay to what you want it. After that, I sometimes duplicate the layer and mess around with Blending modes--choose what's right for that picture. :) Mwahahaha. You can add blush, eye shadow, whatever you want here now, using the same type of methods I've been using this whole tutorial. Just like in real life, a little strategic makeup can make all the difference. :) Now. I've been asked about how I achieve the softness with my works that I do. Come close, and I'll tell you a secret. No, closer. Duplicate the original stock layer, put it at the top of all the other layers, and then Gaussian Blur it on like 15 px or something. Change the opacity to about 25% or something. Ta-da! Mwahahaha! :P The rest is really up to you--mess around with it. You learn through experience.
|
