by - Chris Mayernik
1) Painting simple lights
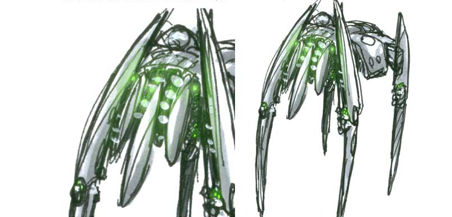
First I scanned in one of my thumbnail sketches and created a new layer that I named Light source 1. All the lights will be painted on the layer light source 1. I can easily change the color of the lights later on because they are all on a single layer.

2) I make sure pen opacity control is turned on in the brush settings. Everytime I switch brushes I need to reset this option in the brush tab. I painted green circles for the lights. Next I went back over them with a slightly larger brush with a lower opacity and painted a larger circle over top so that the green dots look more like lights.

Darker areas are the best places to put lights. When sketching I mark light spots with white acrylic paint or a red sharpie. Doing this allows me to work faster in photoshop because I already know where I want my main lights. I Zoom in close when painting details because its easier on my eyes and easier to get the detail in.
Using a large sharp round brush I painted lights and added reflections on surfaces near lights. After this I used a small brush to paint random lines and dots near the lights to give the illusion that there is a lot of detail around the cockpit.

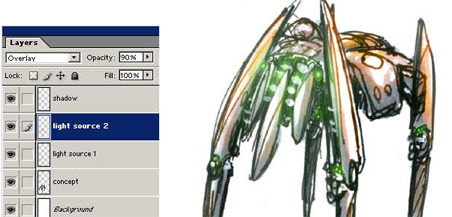
3) I added an orange secondary light source on a new layer.

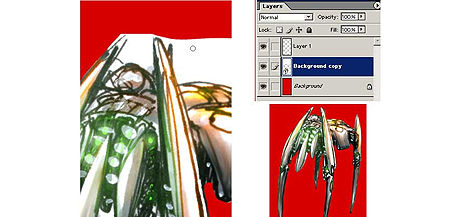
4) I decided to cut out the robot so that I can add a background to it later if I wanted to. By making the background red it was easier to tell where I have already erased.
