by
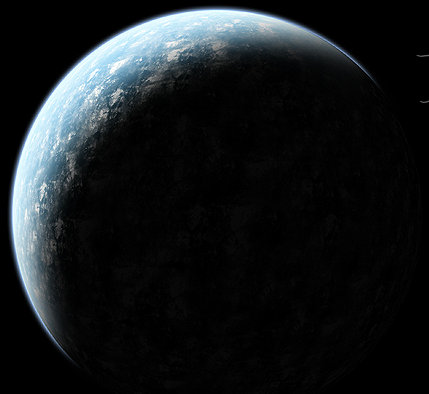
In this tutorial, I will explain how to make planets. Get comfortable, and put on some of your favorite music.
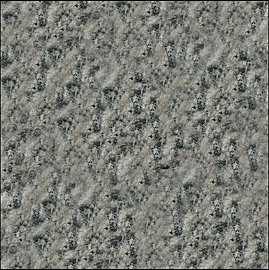
Ok first get a nice texture. I used this texture, I got off of google. Open the texture up, and expand the canvas to 4000x4000. (Image>Canvas>Size) Use the clone tool, and star to fill up the canvas. When thats finished go to Edit>Define Pattern, and hit ok. Now close the texture.
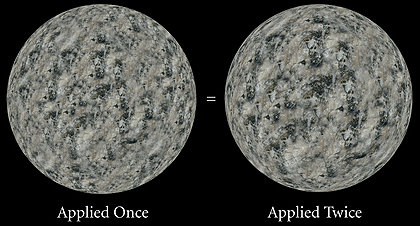
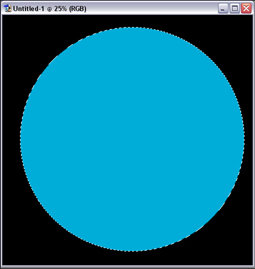
Make a new document 4000x4000, and fill the background black. Make a new layer, and grab the circular marquee tool, and make a perfect circle (hold shift). Now Fill it with your texture, and shperize it (Filter>Distort>Spherize) Put the amount to 100. Once its applied, do it 1 more time. Do not close the document!.
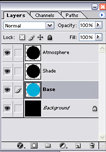
Select the Atmosphere layer. Set the layer to screen and go to Inner Shadow, and apply these settings
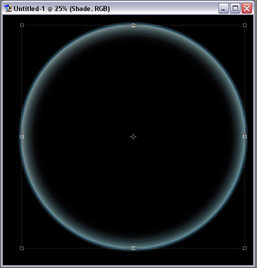
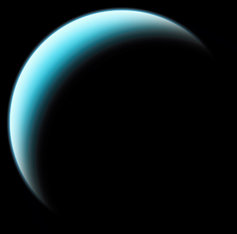
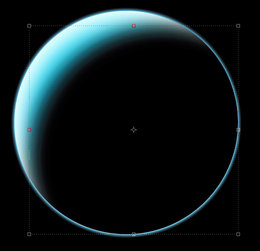
Now you should see the atmoshpere showing through the back. To fix this, make a new layer, and link the atmosphere layer to it, and merge them together Ctrl+E. Then take a soft eraser, opacity about 70-80, and start erasing.

Now heres the fun part, experiment with changing blend modes. I duplicated mine 5 times. If you want to experiment on your own you can. Here are my blending modes. First layer-Normal; Second and Third layer-Multiply; Fourth layer-Color Dodge; Fifth layer-Saturation. Now go experiment, duplicate the layers, change stuff. The possibilities are endless. Find more textures on google. Now have fun. I hope this tutorial Helps people.
