
by - Wolfi
 |
This tutorial will teach you how to make a typical high-tech orb with a logo in the middle.
First make simple circle. |
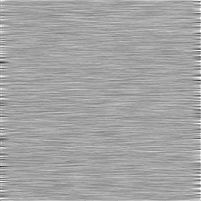 |
Make a new document that is about 50% bigger than the circle you made. We're going to make the brushed metal texture for the outer circle. Add noise (filters -> noise -> add noise) and add a good amount of monochromatic noise (about 130% should be fine). Then apply a motion blur (filters -> blur -> motion blur) at an angle of 0 degree you get something that looks like this: |
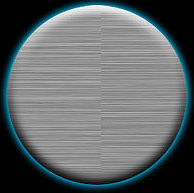 |
Crop it without the ugly fringes at the edges and define it as a pattern (edit -> define pattern). You can also close it. Next a lot of layer styles are going to be applied to the white circle. 1) Add a soft glow in a color of your choice. 2) Add a soft bevel and emboss with contour and the opacities of the highlights and shadows set to 100% 3) Add a linear gradient overlay at -90degree going from a light grey (top) to a dark grey (bottom) opacity 15%. 4) Add a pattern overlay with the brushed metal texture we just made in the previous step. |
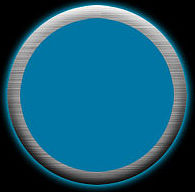 |
Now to make the glass orb. To get the basic shape, select transparency of the layer with the base metal circle (ctrl+click). Transform the selection (select -> transform) so that it is smaller. On a new layer, fill the selection with your background color. |
 |
To get the basic inner shadow add a soft inner glow layer style with the color set to black and the mode set to multiply. Next comes the logo. Using any tools you like (marquee, lasso or pen - I used the circular marquee tool).
Fill your selection with white on a new layer and set the fill opacity to 0%. No layer without styles :) 1) A small, sharp , faded inner shadow coming from 120 degree and with an opacity of 25% 2) An inner glow in the same color as the outer glow of the metal base with an opacity of 45% 3) A linear gradient overlay at 90% going from white (top) to light grey (bottom). |
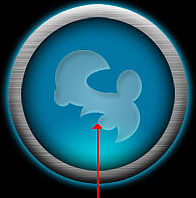 |
To add the a glow at the bottom of your orb, select its transparency of the orb layer (ctrl+click on the orb layer). Then, on a new layer with the blending mode set to color dodge, grab your radial gradient tool, set your foreground color to the orb background color, the gradient type to foreground to transparent, throw one in as shown by the arrow. |
 |
To create the highlight at the top of the orb were going to be using the gradient tool again. Select the transparency of the orb layer (ctrl + click) On yet another new layer, make a white foreground to transparent normal linear gradient going from the top of your orb until about 40% of the way down on a new layer. Select the orb layers transparency yet again (ctrl + Click). Move your selection down ( select -> transform selection, then use your arrow keys) about 2/5ths of the way. Remove the selected area from your highlight (backspace). |
 |
Now you're basically done with your orb. I played around with my orb a bit more, making the highlight and bottom glow stronger and the inner shadow a bit weaker. i added a couple of inset lines & dots and some blue leds for extra effect. Once you<ve selected an area (marquee tools/lassos/pen tool), you make it appear inset by adding a tiny inner shadow. To create LEDs, make a small circle (circular marquee too), fill it with white. On a layer beaneath make a new circle in the desired LED color. Blur it slightly (filters -> blur -> gaussian blur) Duplicate it (ctrl + J), blur it stronger (filters -> blur -> gaussian blur) and move it below the slightly blurred layer. |