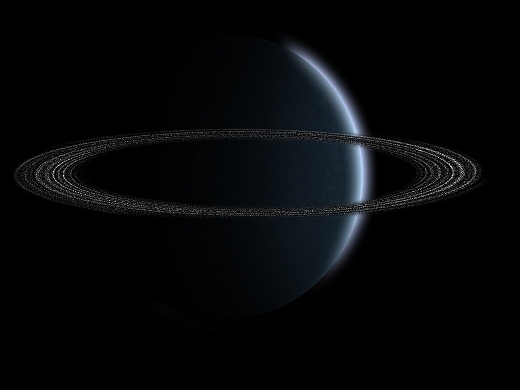
by - GieGie
Step 1: Making your basic ring: Ok, you know the basic drill right? Make a new one and flood fill the damn thing with black!!! The new image can be any size you want, though I suggest at LEAST a 500 x 800 or so so that you don't loose alot of detail when you have to scale down the image and possibly make it larger again!!! I started out with a 1024x576 myself. Now, after you've done that, make a new layer, and go to filter > render > clouds. Have your foreground and background colors set to black and white, it doesn't matter which is which though. Now it should look something like the image to the left.

I always put my eraser on airbrush, but this isn't required. I just find it easier to work with hehe ^_^
Now your picture should look something like what you see to the left!!!

Step 3: Transformers, planet rings in disguise: Now it's time to transform our rings! Hit ctrl+T or go to edit > transform > scale and drag your rings down to about the size that you want them. You may have to zoom in and out to be able to see the bars, but if you have to then do it...but I know though...it's a pain >_< haha!!
Now go to filter > noise> add noise and make the settings as follows: 15%, gaussian selected, and monochromatic checked. Now you've got nice little dots all over your rings don't you!? Fun stuff =P

Step 4: One ring to rule them all...: I'm assuming you have a planet ready for your rings, so you may want to go ahead and place them on your planet if you want to =) Just copy and paste the rings onto your planet and there ya go. But this isn't necessary yet, so don't feel obligated. I just did so so that I could see if my rings were a good shape/size for the planet I made.
Once you have your rings in place if you move them over your planet, go to image > adjustments > levels or hit ctrl+L to bring up the levels window and slide the MIDDLE TRIANGLE to the RIGHT some. I slide mine until it was about 0.35 or so I believe, but if that doesn't work, just use the image to the left as a guide and slide the triangle until it looks like that.

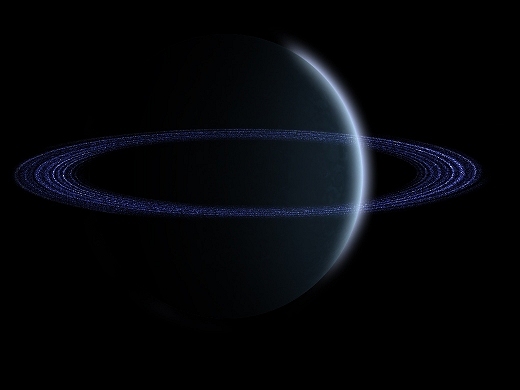
Step 5: The Color Game Begins!!: Set the new layer to screen which will get rid of all the black in your rings, and make it nice and translucent. Also boring!!! We need COLORS!!! So now our coloring begins!!! Go to image > adjustments > hue/saturation or hit ctrl+U and look in the bottom right corner of the new window that comes up. There are two checkboxes, and you should check the one that says colorize. From there, adjust the three bars on the new window until your rings are the color you want them to be, and this will be your base color of rings =D
Now of course, if you're not wanting to add anymore colors and this is what you want, then fine, be that way, DON'T BE ADVENTUROUS!!! But if you want to add some more colors to them, then please, read on!! After all, that's what this tutorial is all about! =D So read on!!

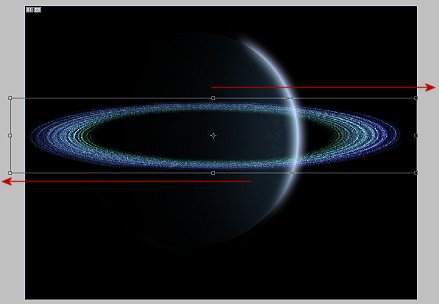
Step 6: Dorothy went way over the rainbow like a color whore: Oh so you want more color ey? Well you've come to the right place!!! =D Here's how ya do it =) Duplicate your ring layer now and hit ctrl+T or go to edit > transform > scale. Now, grab the outer most edges of the box and drag them either in or out depending on two things, 1. if you have enough space between your rings and planet to make the rings a bit smaller, and 2. if you have enough space to make them bigger! I made mine smaller, and if you wish to do that, then drag them in the directions you see the arrows pointing on the image to the left. Note: Only drag the rings a few pixels in or out. The point is to get the bands of rings overlapping the base rings so that we have nice streaks of different colors going through them.
Once you've moved your rings in or out, go to image > adjustments > hue/saturation or ctrl+U like we did before in step 5, and select colorize, then move the bars around until you've gotten the color you want. It's best however to leave the lighten bar at or around zero so that you don't cover up your base rings too much with your new color =)
As you can see in the next image, I chose the color green =)

Step 6.5: So many choices, so little time...: This step is optional. If you don't want many colors in your rings, then just leave it as it is and don't worry about this step and go to 7!!! But if you're a color whore, and you want to taste the rainbow, then finish up these next few steps, rinse, and repeat if you feel the need =)
Alrighty, go back to your BASE ring layer and duplicate it again. Now do what you did in step 6 only this time drag your rings in the opposite direction! Hence, if you drug them out at step 6, then drag them in this time. Now go to colorize them the same way you did before =) I once again added the red arrows so you could see which way I went exactly from the edges =)

Step 7: A God said, "Let there be color!!!": Once you've repeated steps 6 and 6.5 enough times until you're satisfied with how your rings look, go to your layers pallet and link all your rings together, as seen on the left inside the red boxes, and then hit ctrl+e or go to layers > merge linked. The black will come back when you merge them, but just set the layer to screen again and you'll be good to go =)
Take your eraser brush and erase around the areas of the ring that won't be seen due to the planet and you should be all done!!! =D

View Final Image