| One of the most useful things of Photoshop (and I consider this very important) is the option called "Layer mask". If you want to work professionally or want to do photomanipulation, you really should know how to work using this option for great image's blending. |
| |
 |
|
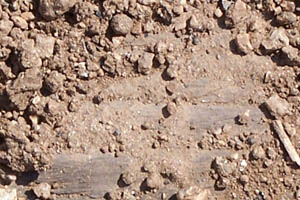
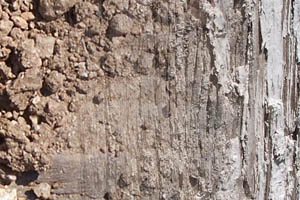
I'm goin' to use here a stock image from Photobreed. (only a section). This is my "Layer 1". |
|
 |
|
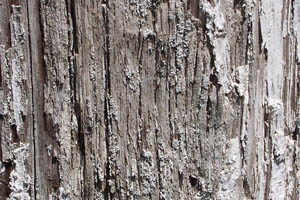
Now, I'll add other image (from Photobreed) above this layer: This is the "Layer 2". |
| |
 |
|
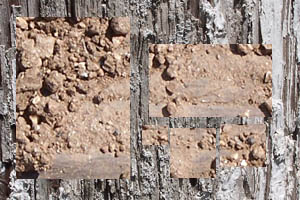
Ok, this is the part where the fun begins: Making click in the "Layer Mask" icon, we make the mask into the layer that we have selected (Layer 2). |
| |
 |
|
Once you have the mask in the layer, is time to mask: Painting with black color we erase the image, painting with white we "unerase". The black areas represent the areas that we don't want to show (here I just created some simple rectangles, but you can try using the brush in a more creative way). |
| |
 |
|
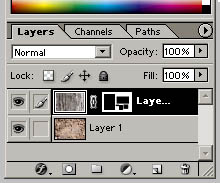
This is the way our layers palette will look. We should have the image thumbnail (in the left) a little chain icon and the mask thumbnail (in the right). |
| |
 |
|
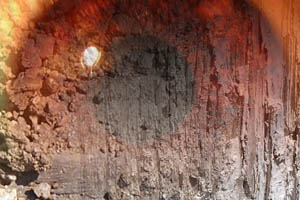
Now that we have seen the way the mask works, is time for a new step. Selecting the mask, we can add a gradient from black to white: Our image "fades" from a texture to another. |
| |
 |
|
You can add one more layer (or the number of layers you wish) with other images and the respective mask. (Eye image from Eden Stock) |
| |
| This is the way I usually do the blending in my photomanipulated images. I recommend to take time to practices, applying different effects to the layers and the masks. |
| |

