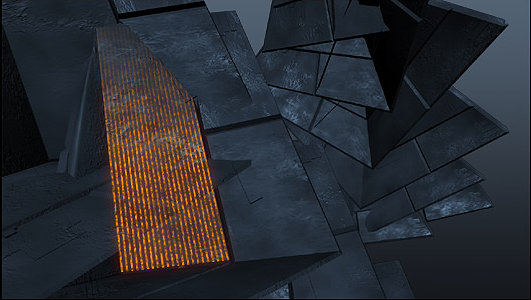
by - Tremorwave
1) Start off with your render such as the one below, there should be clear areas for lighting potential.
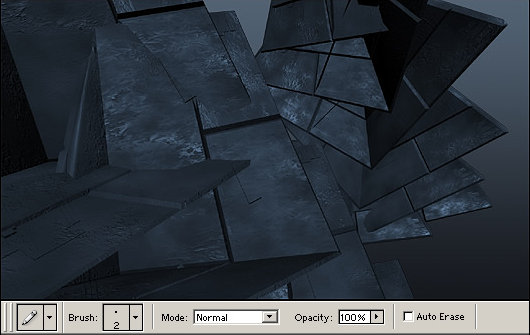
2) Using above pen settings and nice lighting color draw series of straight lines as below you can cheat by only drawing a few and then using duplicate layer and merge linked layer tools to quickly build them up.
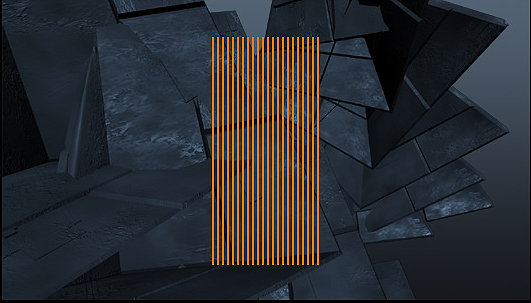
3) Using the Edit --> Transform --> Distort tool shape the layer of lines so that it sits over the lighting area as shown below.
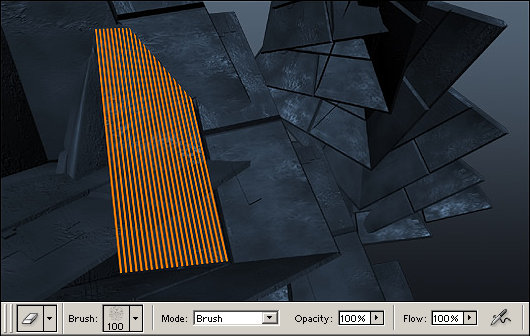
4) Use an textured eraser with the above settings and absolutely now shape opacity dynamics. carefully use the mouse with single "clicks" to erase large spotted areas of the lights in single large circles the result should be similar to below.
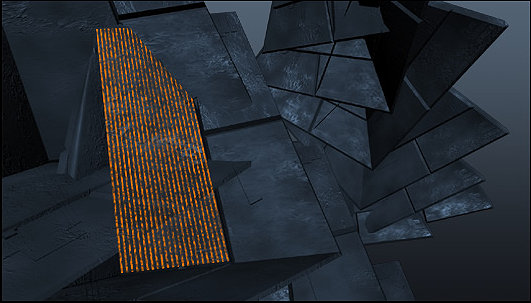
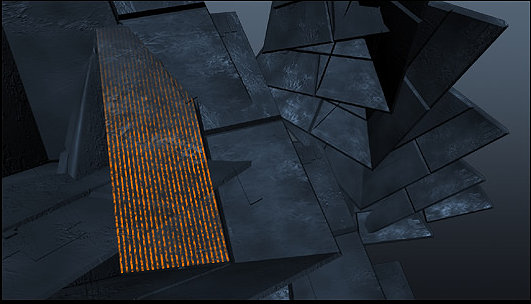
6) Finally duplicate the lighting layer and apply Filter -> Blur -> Gaussian blur radius 6
Set this new layer to color dodge the result should be something like below.
