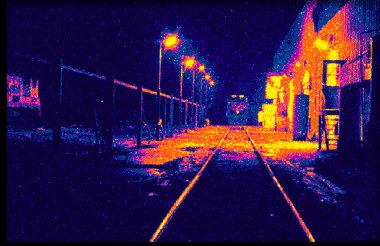
by - Thykka // M. Holmström
Start with an image that's preferably taken at night. This gives best results. If necessary, make some levels adjustments. Now add a new
Gradient Map adjustment layer
(the small circle filled black and white in the layers window).

Make a new gradient that looks something like mine below.
Save it if you think you might need it layer ;)

To get a smiliar "step-effect" on your gradient, click a color-tab and you'll notice two small diamonds on both sides of the tab. Pull the left diamond near the color tab on the left and the right diamond near the color tab that is currently selected. The gradient doesn't have to be perfect because heat-vision devices aren't either ;) Your pic should now look like the one below.

Now create a new layer on top of the adjustment layer: Fill this layer black and create some noise (Filter > Noise > Add noise). I used a 30% gaussian noise. Remember to switch the monochrome selectbox on.

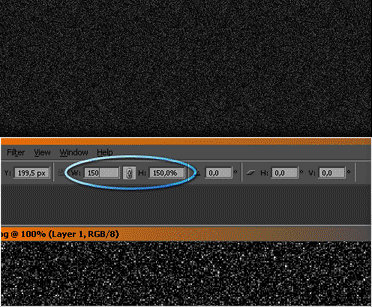
To get a less computer-generated look we'll make the noise bigger than regular pixels. Make sure the noise layer is selected and press Ctrl+T. Now press the little chain icon between width and height. Set them at 150% and press ok.

