
by - Katie
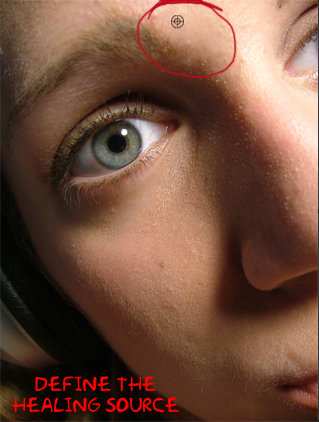 |
|
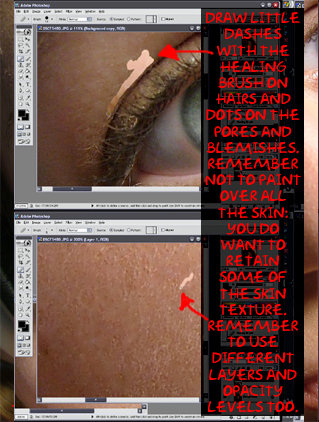 |
2) Draw little dashes with the healing brush on hairs and dots on the pores and blemishes. Remember not to paint over all the skin: You do want to retain some of the skin texture. Remember to use different layers and opacity levels too. |
 |
|
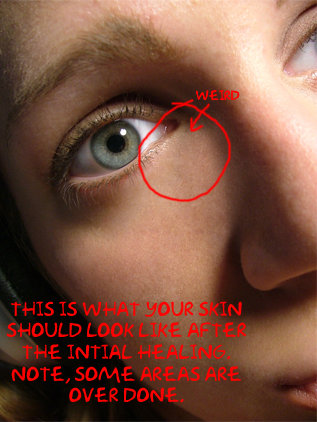 |
3) This is what your skin should look like after the intial healing. Note, some are areas are over done. |
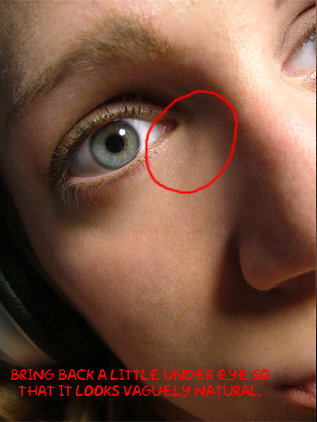 |
4) Bring back a little under eye so that it looks vaguely natrual. |
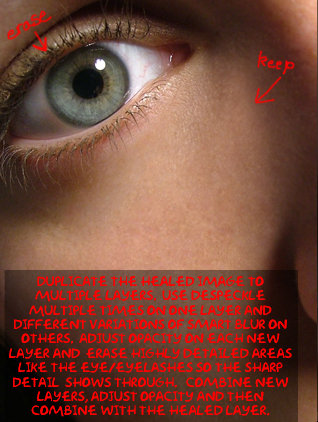 |
5) Duplicate the healed image to multiple layers. Use despeckle multiple times on one layer and different variations of smart blur on others. Adjust opacity on each new layer and erase highly detailed areas like the eye/eyelashes so the sharp detail shows through. Combine new layers, adjust opacity and then combine with the healed layer. |
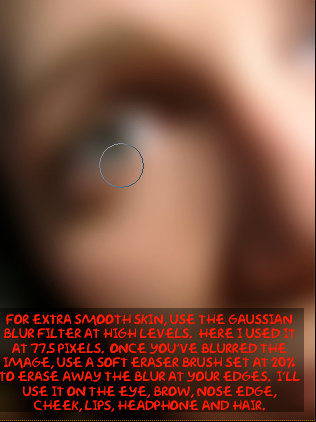 |
6) For extra smooth skin, use the gaussian blur filter at highlevels. Here I used it at 77.5 pixels, once you've blurred the image, use a soft eraser brush set at 20% to erase away the blur at your edges. I'll use it on the eye, brow, nose edge, cheek, lips, headphone and hair. |
 7) Once you're done erasing your details, set the layer on screen mode, the image will become very bright, but that's okay. Set your opacity how you want and the merge the layers together. Next open up levels and slide the middle arrow to darken your image again. |
|
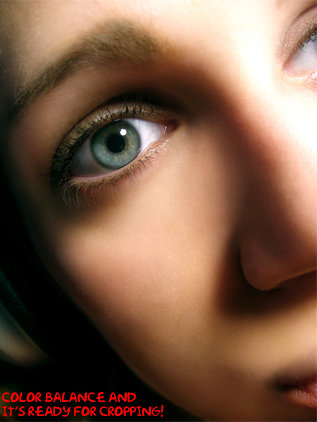 |
8) Color balance and it's ready for cropping! |