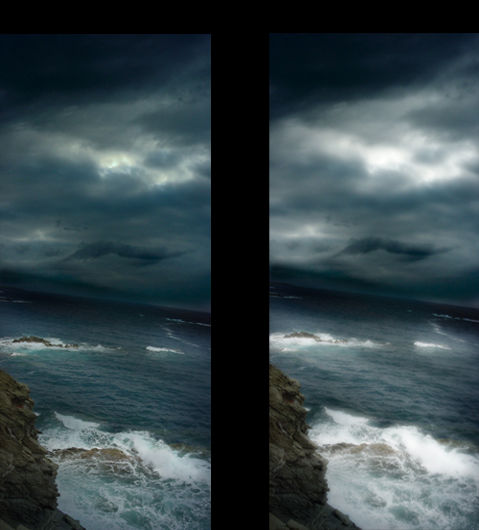
by - Insektokutor
In this tutorial we are gonna make one perfect scenary merging two base shots so the first step is obviously choosing two shots :D

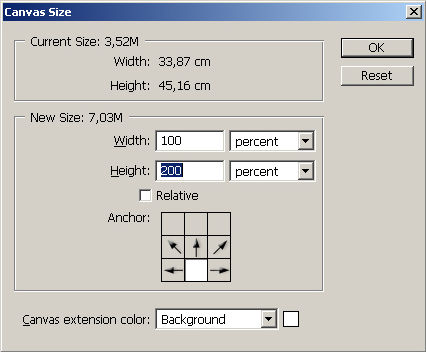
The second step is duplicate the canvas height over the base shot ( in this case the sea shot ) rename the layer to base shot.
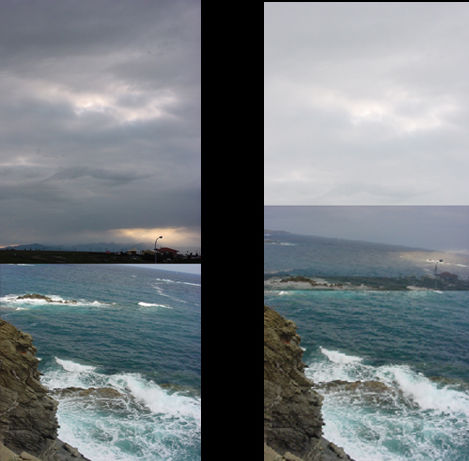
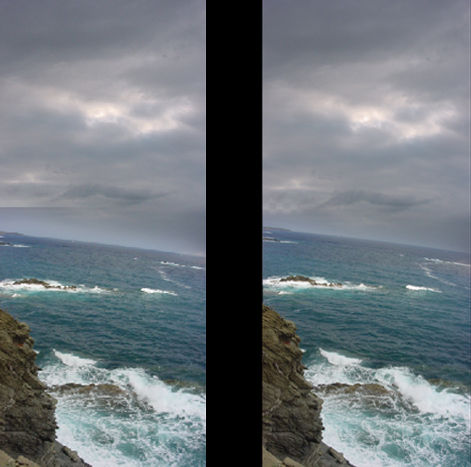
As you can see there are some ugly transparent zones. You can make them desappear with the help of the clone stamp tool. On the sky layer start to clone some zones with low opacity and a sufficent sized pencil to recreate the right illumination on the sea duplicate the sky layer, flip vertical and blend by multiply, change the opacity to 67%
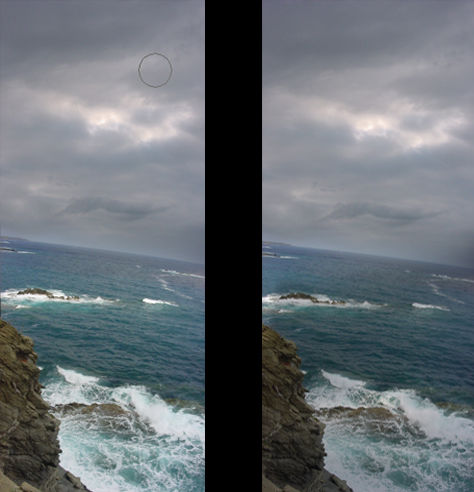
Once the image is like you wanted to be is time to flatten the image and apply the glow effect filter, in the distort menu :P and its done :D
