
by - Dave Wieler
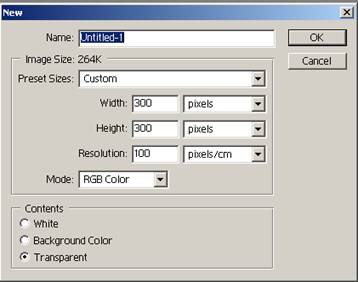
Step 1) The first step is to create a new images with 300pixels by 300pixels and a resolution of 100. Make sure that the content type is set to transparent. (you can make it whatever size you want but we'll use these dimensions for this tutorial.)
Step 2) In the layer window add 2 extra layers.

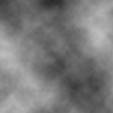
Step 3) In layer 1 add some clouds. Filter>Render>clouds.
You should have something that looks like this.
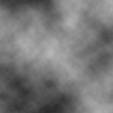
Step 4) Do the same in layer 2 and 3 by clicking on each layer and pressing Ctrl-F. each layer will be different but in layer 3 try to make it more light than dark by pressing Ctrl-F until you get it. They should look something like this.
Layer 2 layer 3

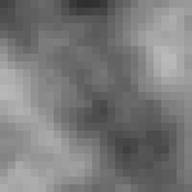
Step 5) Start with layer 1 and use the mosaic pixelate filter on it. Set cell size to 12
Filter>Pixelate>Mosaic.
In layer 2 do the same but set cell size to 10. And in layer 3 set cell size to 8.
Your layers should look like this. (notice that the cells get slightly smaller in each picture)
Layer 1 Layer 2 Layer 3
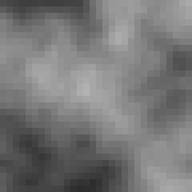
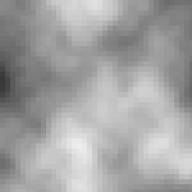
Step 6) In each layer and the find edges filter. Filter>Stylize>Find edges.
Layer 1 Layer 2 Layer 3

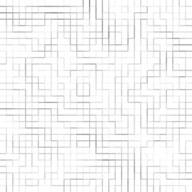

Step 7) Start with layer 1 and use the glowing edges filter,. Filters>Stylize>Glowing edges. Then continue with layer 2 and 3 by using the same filter. Follow images below, they contain the attributes for each layer's glowing edges filter.
Layer 1
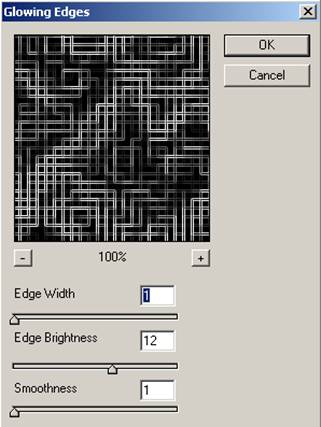
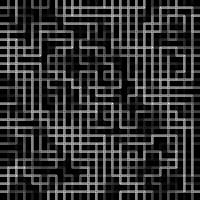
Now on to Layer 2
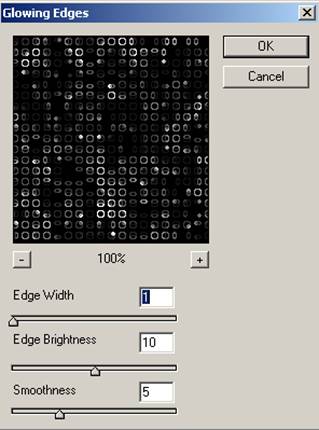

Layer 3


Step 8) set layer 3's opacity to 36% and layer 2's opacity to 70%. It should look something like this. All the images blended together.
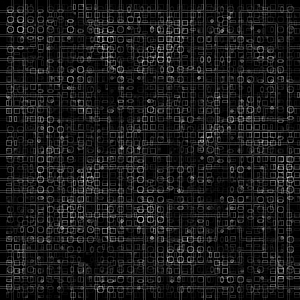
You can change the opacities to whatever you want to make it how you want it.
Step 9) Flatten the Image. Layer>Flatten image
Step 10)Change the hue of the image to make it look computery
Image>adjustments>Hue/Saturation. The following settings are what I used but you can make it any colour you want. make sure you have the colorize box checked.
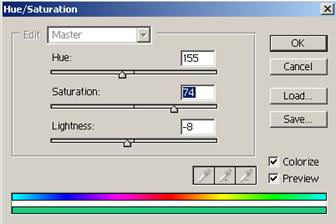
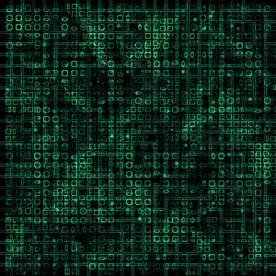
Finished - the finished product should look something like this
Dave Wieler