
by - Cactus Auri
I did my best to write this tutorial in a not-so-bad English but please keep in mind that it's not my native language.
This is personnal way of coloring. I don't pretend to be a Photoshop grand master, and I don't say that this is the best way of coloring using Photoshop but it's MY way. You can always adapt what you read here if it suits you better. In this tutorial, I assume that you already have some basic knowledge of Photoshop (Including layers, tools and color modes)
Now, before you start coloring, I suggest that you read through the entire tutorial first.
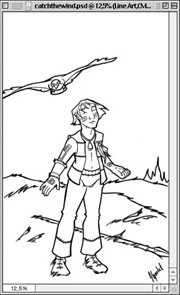 |
1) First, open your line art and give a significant name to the layer. I use "Line Art". Then, set this layer to "Multiply". I suggest you work on a high resolution if your computer can support it. For this particular picture, I worked at 300 DPI. The picture size was 10,13 x 18 in (3039 x 5400 pixels). The higher is the better!
Your line Art might be in grayscale. If so, you should set it in RGB or CMYK. I won't explain the difference between these two as it's quite complex but if your picture is only for the computer screen, use RGB.
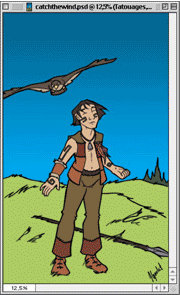 |
Repeat it for all the elements of your pictures. If your computer don't support a lot of layers, you can put serveral colors on your layer but try to choose isolated colors. It will make things easier when you'll start the shading.
If you get too many layers, you can organise them with folders.
Now you have a good idea of what your picture will look like. You can change the color of the elements if you feel it's not right anymore. I changed the color of the sky and grass a few times during the coloring of this picture so don't be surprised! This is why I don't start the shading before I see the entire color palette. Speaking of palette, don't be afraid to use it to store your colors!
 |
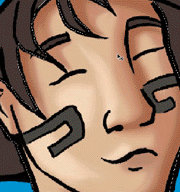
Let's the fun begin! Using the magic wand ( or clicking on the layer while holding ctrl or command on Macs), select the color you want to shade. I'll begin with the skin.
 |
 |
 |
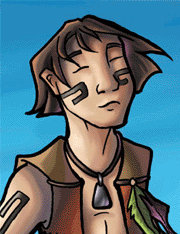 |
To do so, you'll have to create a new layer Over your line art. Give a name to this layer and set it to screen.
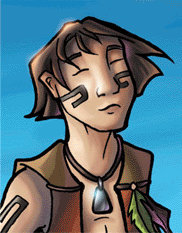 |
And by the way, don't forget to save your work often!
Now if you want to have a closer look at the most difficult part of the image, keep reading!
Creating nice texture effect in Photoshop is not that hard. Let's take a closer look on some of the more complicated part of the image.
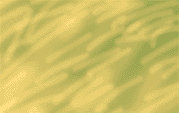 |
As you can see on this close up, I only added some yellow stroke over my green background. Using a 50% opacity soft brush, I added large strokes firts and then smaller ones. I used the same technique for the darker areas.
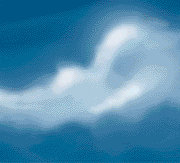 |
First, the sky: I started with a plain gradient of a darker and lighter blue. To give it a less artificial look, I used a 30% opacity soft brush to add strokes of lighter and darker blue on it. It's hard to explain it here.
For the cloud, I used 3 different layers: one with the basic color (use a soft brush: 30% opacity), one with the highlights (same color as the base, same brush) over the base layer, and one for the shadow (soft brush : 30% opacity, darker color) over the base color layer. This is a more complicated technique that deserve it's own tutorial.
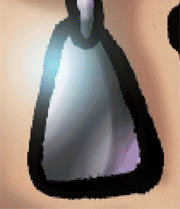 |
To create a somewhat realistic metal effects, all you'll need are a few gray shades! Depending on the surrounding colors, you can use warm or cold greys. For this picture, I used warm greys.
Try to find a metallic object and look at it. Try to see how light reflect on it. Use the shade of greys to make it 3 dimensionnal but remember that what you are coloring is NOT a dull grey object. It reflect it's enviroment. The amulet reflected the skin of the character but also the sky. That's why I have warmer color at the bottom and colder on the top!
Painting metallic objects is quite hard and the best way to improve is by observing real life object.
Cactus Auri