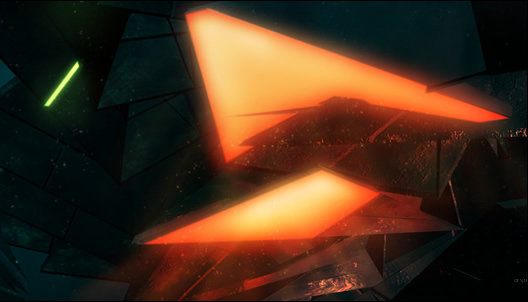
by - Tremorwave
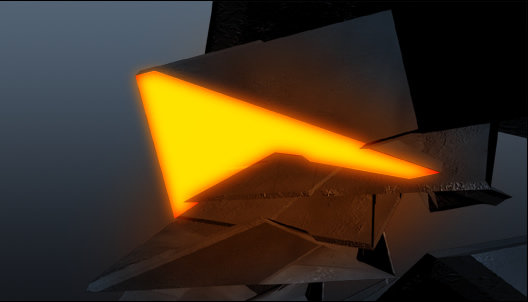
Start off with your render such as the one below there should be clear areas for lightning otential.

Using the polygon lasso tool with no feather select the area for lighting be sure to include any little jagged bits to add interest as below.
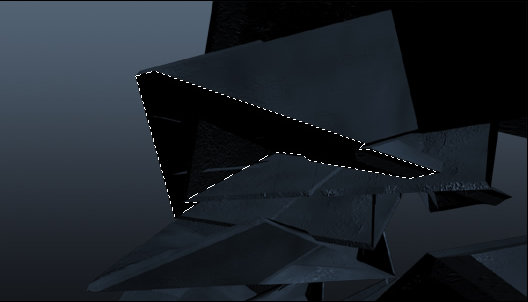
Then fill this layer with a good deep color slightly darker than the intended lighting
color as shown below.

Then duplicate that previous layer and set this new layer to color dodge the result should be a brighter color something close to what you want.

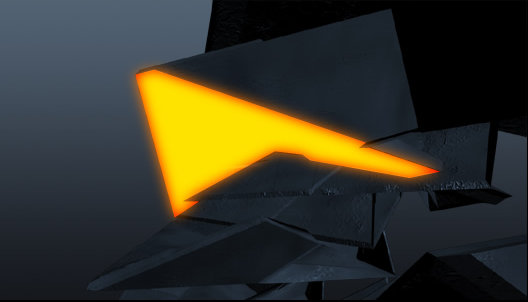
Finally on a new layer, with the above brush settings and a deep red color brush around the top
and particulartly the bottom below the light set this layer to soft light.
The result should be similar to that below..
