
 |
1)
First of all start a new file: size 500x500 and background color black
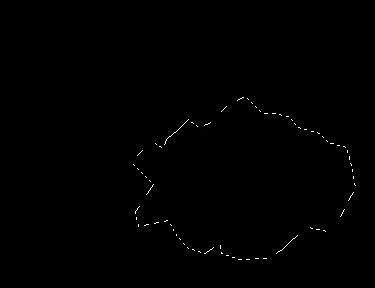
Make a new layer; Pick the Polygonal Lasso Tool (hotkey=L)
Now start making a shape like in the image, it doesnt must be too big...and
it has to be in the middle of the picture.
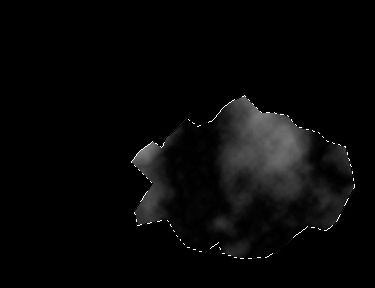 |
Press on ctrl+f sometimes till you get a nice texture like in the image.
Warning:
plz do not deselect the shape yet!!!.
 |
We need to emboss the upper layer
to give the asteroide a bit depth!
Go to Filter > Stylize > Emboss
The settings are:
Angle = 0
Height = 3
Amount = 500
You
will get a grey bumpy texture...
but it doesn't look right... You need to blend it in with the other layer...
So we are gonna choose a Layer Blending mode for the upper layer. Try
them all...and see what fits best for you. I choosed Linear Light.
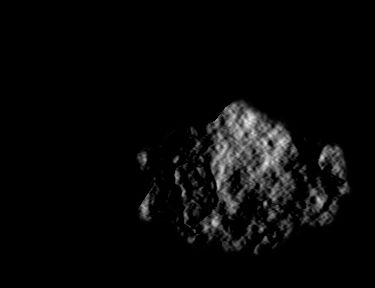 |
Pick the upper embossed layer and begin erasing the line with a soft eraser! You might even want to erase a little bit of the sharp edges of the asteroide...If you are done with erasing... merge the two layers. You can do that by selecting one of the layers and then click on the other ones empty square. You will see a chain like thingy appears in the square go to Layer > Merge Linked (hotkey= ctrl+e)
The asteroide will look a bit mines in the example here.
 |
Just click with your rightmouse button on the selected area and click on what you want to do.
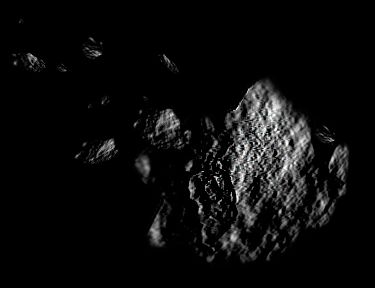
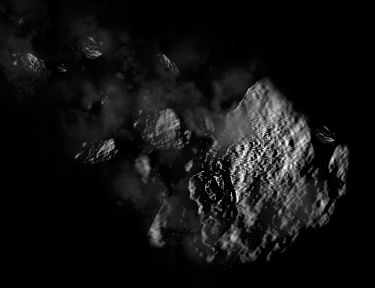
Make alot of little particles of the asteroide...this will give a nice detailed feeling! You also might want to distort the main asteroide! because it looks a bit fake as how it is now.
If you are done with the duplicating and stuff...you see your main rock doesnt have much details...So select your main rock layer and pick the sharpen tool (R) strenght on like 20% and sharpen your asteroide a bit..not too much, otherwise the colors are gonna be ruined!!!
You now have something like I have...or better of course! :P
 |
6) Make a new layer on the top off all the layers!
The only thing the asteroide doesnt have now, is some dust clouds coming out of it!
Make a clouds brush!
You can do that in this way:
brush setting ; brush setting
first pick a normal softbrush and then open the "brushes window". Use the settings given above. Now you will see you get a kinda cloudy brush. Save the brush by clicking on the new layer button. give a name and click on ok.
Pick you clouds brush and set the oppacity of it on like 10%
Now begin tapping with your brush and make some clouds coming out of the tail of your Asteroide You need to double tap on some areas of the clouds to make it thicker there...
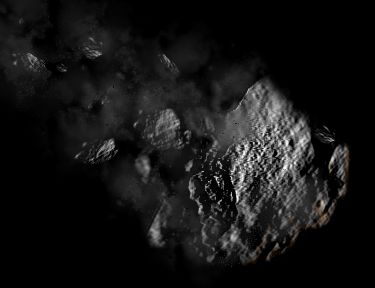
If you done that you are finished...But you could detail the asteroides still a bit more...The next step is for extra detail tips!
 |
Clouds
dust detail:
You maybe want a little bit extra very very little pieces of rocks in
your clouds...Just pick a 1px brush and make dark dots in your clouds.
Asteroide glow:
Also brushing...pick what ever brush you like on a low oppacity... pick the prefered glow color and color the front of the asteroide a bit... But remember!!! the asteroide doesnt glow if it still isnt in the atmosphere.
Motion Blur
Maybe you
want to motion blur asteroide... You can do that by using the motion blur
filter...
pick the rocks you want to motion blur and go to filter > blur >
motion blur.
Give the angle of your asteroide and adjust the amount of blurness.
by bluring your asteroide...the detail of the textures will go low..so
think before you use it! :p
Well...here
end this tutorial...I hope you enjoyed it and learn from it.
Never stop experimenting with the techniques...you can always improve
them!
You can add some of your brushing skills in this work to make it more impressive.
Have a nice
day!
Greetz Kamjar Fadai!