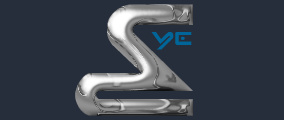

1)
Open a new document, grab the Horizontal Type Tool (T),
write a word bigger then 100 +pt
for better quality after your done
right click with your mouse on
the type layer and rasterize it.

to select it, go to the channel mode and create an alpha channel it will appear as an empty selection get the paint bucket tool and throw in the white color inside keeping the selection go to
Filter --> Blur --> Motion Blur
Settings 28 degree 24 distance.
Now you can hit ok go back to your layer and do a lightning effect (Filter --> Render --> Lightning Effects... on your word with the following settings.

settings 0.8. Image --> Adjustments --> Curves check settings.


Size=38; Range=55
Thats it I have added a satin
Blend Mode Color Dodge=13%;
Angle=19; Distance=14; Size=29; layer blend on the top chrome layer.